Spray Foam vs. Cellulose Insulation: Best Options for Attic Efficiency
Reading time: 12 minutes
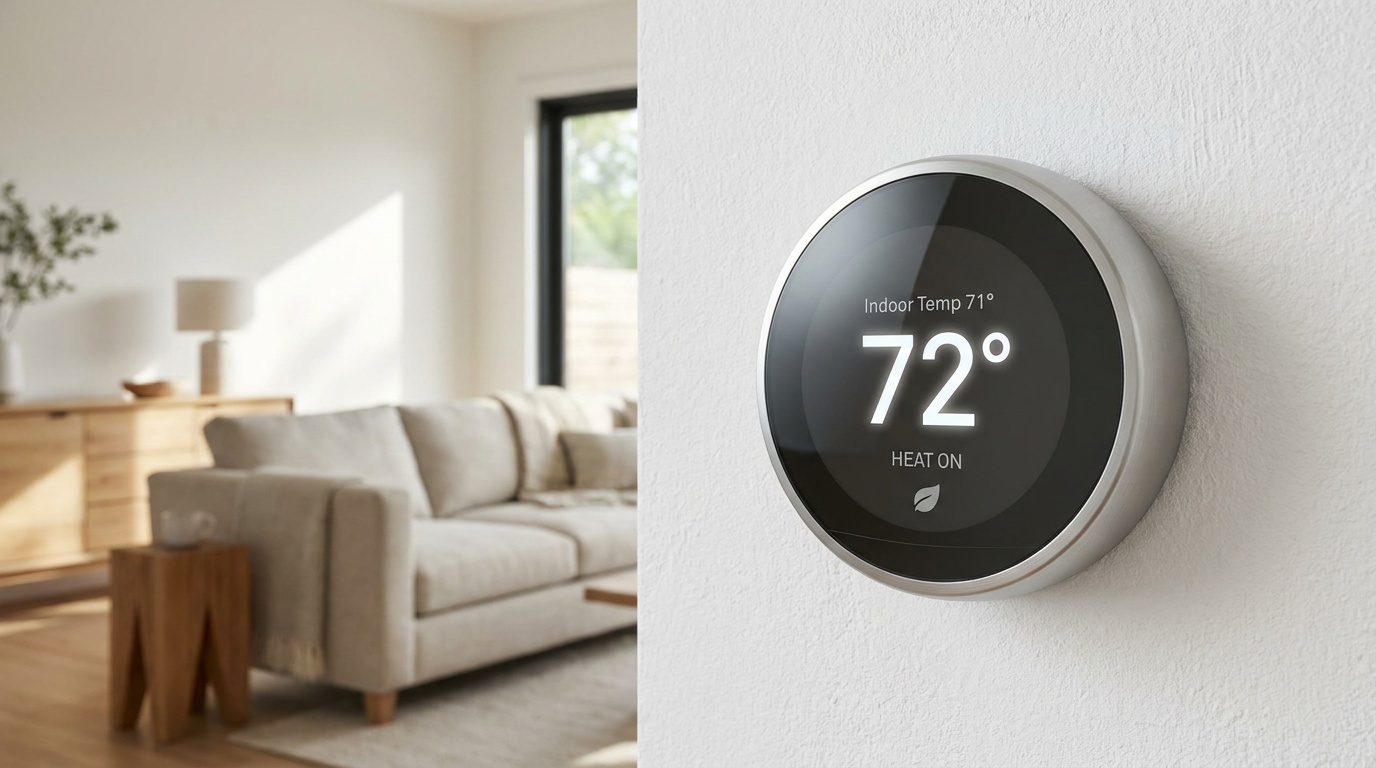
Here’s a scenario most homeowners know all too well: You’re standing in your living room on a January morning, the thermostat reads 72°F, yet you’re still reaching for a sweater. Your energy bill quietly climbed 18% last winter, and you’ve started suspecting the culprit is lurking somewhere above your ceiling. Sound familiar?
Your attic insulation — or the inadequacy of it — is almost certainly the villain of this story. And in 2026, with residential energy costs averaging $1,580 annually according to the U.S. Energy Information Administration, getting your attic insulation right isn’t just a comfort issue. It’s a financial strategy.
But here’s where it gets tricky: walk into any hardware store or call three different contractors, and you’ll get three wildly different opinions on whether spray foam or cellulose is your best bet. This article cuts through the noise with precision data, real-world case studies, and a practical framework to help you make a confident, informed decision.
Table of Contents
- Understanding the Basics: What Are These Materials?
- Performance Head-to-Head: The Numbers That Matter
- Cost Analysis: Upfront Investment vs. Long-Term Returns
- Real-World Case Studies: Homes That Got It Right
- Common Challenges and How to Overcome Them
- Environmental Impact: The Green Equation
- Choosing the Right Option for Your Attic
- Frequently Asked Questions
- Your Attic Efficiency Roadmap: Next Steps
Understanding the Basics: What Are These Materials?
Before we dive into the performance showdown, let’s get grounded in what these two insulation materials actually are. Think of this as your foundational briefing — the knowledge that makes every contractor conversation more productive.
Spray Polyurethane Foam (SPF): The Airtight Performer
Spray foam insulation is a two-component liquid system — isocyanate and polyol resin — that expands dramatically upon application, filling every crack, gap, and irregular surface. There are two primary types:
- Open-cell spray foam (OCF): Lighter, more flexible, and less dense. R-value of approximately 3.7 per inch. Excellent for sound dampening and works well in interior applications where moisture isn’t a primary concern.
- Closed-cell spray foam (CCF): Dense, rigid, and moisture-resistant. R-value of 6.0–7.0 per inch. The heavyweight champion of thermal performance, doubling as a vapor barrier and structural reinforcement agent.
In attic applications, closed-cell spray foam is typically applied to the underside of the roof deck (creating an unvented, conditioned attic), while open-cell is used in cathedral ceilings and interior spaces where budget is a constraint.
Cellulose Insulation: The Recycled Workhorse
Cellulose insulation is made from 80–85% recycled paper fiber — primarily post-consumer newsprint — treated with borate compounds for fire and pest resistance. It’s the oldest form of modern insulation still widely in use, and for good reason.
Cellulose comes in two primary application methods for attics:
- Blown-in (loose-fill) cellulose: Machine-blown into open attic floors on top of existing insulation or into empty cavities. The most common residential attic application.
- Dense-pack cellulose: Injected under pressure into closed wall cavities or cathedral ceiling bays. Achieves R-values of 3.2–3.8 per inch with minimal settling.
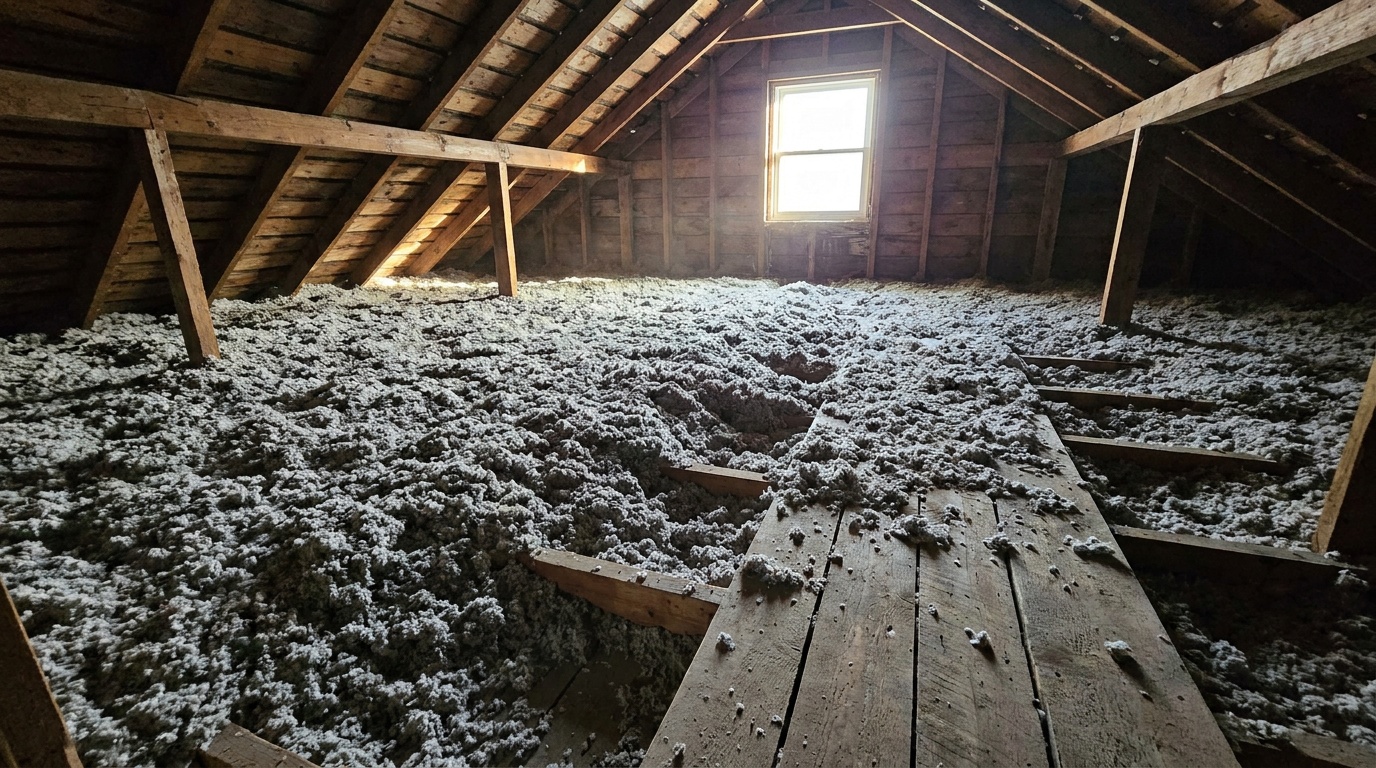
For attic floors, blown-in cellulose is the dominant choice — affordable, DIY-friendly with rental equipment, and remarkably effective when installed at appropriate depths.
Performance Head-to-Head: The Numbers That Matter
Let’s move beyond marketing language and into measurable performance metrics. This is where most homeowners get the clearest picture of what each product actually delivers.
The Comparative Data You Need
| Metric | Closed-Cell Spray Foam | Open-Cell Spray Foam | Blown-In Cellulose |
|---|---|---|---|
| R-Value per inch | 6.0 – 7.0 | 3.5 – 3.8 | 3.2 – 3.8 |
| Air Sealing Capability | Excellent | Good | Moderate |
| Moisture Resistance | High (vapor barrier) | Low | Moderate |
| Average Cost per sq ft (2026) | $1.50 – $3.50 | $0.44 – $0.65 | $0.25 – $0.50 |
| Estimated Payback Period | 5 – 8 years | 4 – 6 years | 2 – 4 years |
Source: 2025–2026 data from the Building Science Corporation, Oak Ridge National Laboratory, and North American Insulation Manufacturers Association (NAIMA).
What the Numbers Don’t Tell You
Raw R-values only capture part of the performance story. In real attic environments, air infiltration accounts for 25–40% of all home heating and cooling losses, according to the Department of Energy’s 2025 Residential Energy Efficiency Report. This is where spray foam holds a decisive advantage — its ability to simultaneously insulate and air-seal in a single application step is genuinely powerful.
However, cellulose has a secret weapon: its thermal mass effect. Dense cellulose slows the movement of heat through its mass, meaning it performs better than its R-value suggests during daily temperature swings. In climates with significant day-night temperature differentials — think desert Southwest or mountain regions — this characteristic is measurably valuable.
Cost Analysis: Upfront Investment vs. Long-Term Returns
Let’s talk dollars. In 2026, with inflation having stabilized but contractor labor costs remaining elevated, understanding the full financial picture is more important than ever.
Attic Insulation Cost Comparison (1,500 sq ft attic, installed)
Blown-In Cellulose (R-49)
Open-Cell Spray Foam (3″ application)
Closed-Cell Spray Foam (2″ application)
Hybrid Approach (Foam + Cellulose)
DIY Blown-In Cellulose (equipment rental)
Bar widths represent relative cost scale. Data: 2026 national average contractor quotes.
The Tax Credit Factor (2026 Update)
Under the extended provisions of the Inflation Reduction Act, homeowners in 2026 can still claim a 30% federal tax credit on qualifying insulation upgrades, capped at $1,200 per year for energy efficiency improvements. This dramatically changes the effective cost calculation — a $5,000 closed-cell spray foam project could net you a $1,200 credit, bringing your effective out-of-pocket closer to $3,800.
Pro Tip: Always request a Manufacturer’s Certification Statement from your contractor confirming the product meets IRS eligibility requirements for the tax credit. Without this document, your credit claim becomes vulnerable to audit scrutiny.
Real-World Case Studies: Homes That Got It Right
Numbers are persuasive. Stories are transformative. Here are two documented scenarios that illustrate these insulation choices in action.
Case Study 1: The Minnesota Ranch House Renovation (2025)
A 1,980 sq ft single-story ranch home in Edina, Minnesota had original fiberglass batt insulation dating back to 1987 — equivalent to roughly R-11 in the attic floor. The homeowners, David and Maria Thornton, were spending $3,400 annually on heating alone, well above regional averages.
Their energy auditor recommended blown-in cellulose to achieve R-60 in the attic floor, combined with targeted air sealing around penetrations with canned spray foam — a hybrid approach that’s rapidly becoming the industry best practice. Total project cost: $2,200 installed. After their first full heating season following the upgrade, their heating costs dropped to $1,890 — a $1,510 annual saving. Their projected payback period: approximately 18 months.
“We honestly expected to wait five years to see a return,” David noted in a 2025 Building Performance Institute case study. “We didn’t expect it to basically pay for itself in under two heating seasons.”
Case Study 2: The Houston Custom Home With Encapsulated Attic (2026)
A newly constructed 2,600 sq ft home in Sugar Land, Texas took a different approach. Builder Coastal Ridge Construction specified closed-cell spray foam applied to the roof deck rather than the attic floor — creating what’s called an “unvented conditioned attic.” The HVAC equipment was relocated into this conditioned space, eliminating duct losses entirely.
Additional project cost compared to standard attic floor insulation: approximately $7,800. However, because the HVAC system now operates within conditioned space, it was downsized by one full ton — saving $1,400 on equipment. The homeowners’ first-year energy bills averaged 31% lower than comparable homes in the same development with conventional attic floor insulation. In Houston’s brutal cooling season, that translated to roughly $780 in annual savings — with an estimated payback period of 8 years on the premium.
The critical insight here: the best insulation strategy isn’t just about the material. It’s about where you apply it and what other systems it enables.
Common Challenges and How to Overcome Them
Every homeowner runs into friction during insulation projects. Here are the three most prevalent challenges — and practical paths through each one.
Challenge 1: Existing Insulation Compatibility
Many attics have decades-old insulation that may contain asbestos (pre-1980 vermiculite insulation) or simply compress cellulose performance when mixed improperly. Solution: Before any blown-in cellulose installation, have older insulation tested if you’re unsure of its composition. In most cases, blown-in cellulose can be added over existing fiberglass batts without removal — but ensure existing insulation isn’t compressed, wet, or contaminated. A pre-project inspection by a certified energy auditor (find one through the Building Performance Institute database) is worth the $200–$400 investment.
Challenge 2: Off-Gassing Concerns With Spray Foam
Spray foam has faced scrutiny — legitimately — regarding VOC off-gassing during and immediately after installation. Isocyanates used in foam chemistry are respiratory sensitizers during the cure window. Solution: Reputable contractors follow established protocols: complete evacuation of the home for 24–72 hours post-application, full PPE for installers, and proper ventilation sequencing. Ask any contractor for their specific safety protocol documentation. Third-generation low-VOC formulations, now widely available in 2026, have meaningfully reduced off-gassing duration compared to products available five years ago.
Challenge 3: Settling and Moisture Issues With Cellulose
Cellulose insulation settles 15–20% over time when blown in at standard density. Additionally, if it absorbs moisture — from a roof leak or plumbing issue — it can lose R-value, compress permanently, and in severe cases harbor mold. Solution: Always install blown-in cellulose at a depth that accounts for settled R-value (manufacturers provide settled thickness charts). Address any existing moisture sources before installation. Specify borate-treated cellulose products, which resist mold formation even at elevated humidity levels. Dense-pack installation (3.5+ lbs per cubic foot) minimizes settling dramatically.
Environmental Impact: The Green Equation
In 2026, sustainability is no longer a nice-to-have consideration — it’s central to how many homeowners make building material decisions. Here’s the honest environmental accounting for both options.
Cellulose’s environmental argument is compelling: With 80–85% recycled content, it has among the lowest embodied carbon of any insulation material on the market. Manufacturing cellulose requires 10 times less energy than fiberglass and dramatically less than spray foam. Its borate fire retardant treatment is non-toxic and naturally derived. At end of life, cellulose is biodegradable.
Spray foam’s environmental profile is more complicated: Closed-cell foam traditionally used hydrofluorocarbon (HFC) blowing agents with high global warming potential (GWP) — some formulations had a GWP of 1,000 or higher. However, the industry transition to hydrofluoroolefin (HFO) blowing agents, accelerated by EPA regulations in 2024–2025, has dramatically reduced this impact. By 2026, most major spray foam manufacturers offer HFO-blown formulations with GWPs below 10. If environmental impact matters to you, specify HFO-blown closed-cell foam explicitly in your contractor quote request.
The bottom line: When comparing HFO-blown spray foam against cellulose, the environmental gap narrows considerably. Cellulose remains the lower-impact choice, but modern spray foam is no longer the environmental villain it once was.
Choosing the Right Option for Your Attic
Here’s the decision framework that synthesizes everything above into a practical selection guide:
Choose Blown-In Cellulose If:
- Your primary goal is maximum R-value per dollar spent
- You have an accessible, open attic floor with joists you can walk between
- Your home is in a moderate climate without extreme moisture risk
- You’re environmentally conscious and prioritize recycled content
- You’re open to a DIY project to reduce labor costs further
- Your HVAC equipment and ductwork are already inside conditioned space
Choose Closed-Cell Spray Foam If:
- You want to create a conditioned, unvented attic to house HVAC equipment
- Your climate involves high humidity, flooding risk, or severe coastal exposure
- You need simultaneous vapor barrier and air barrier in a single application
- Space is limited and you need maximum R-value in minimum thickness
- You’re doing a comprehensive whole-home energy retrofit with long-term ROI in mind
Consider the Hybrid Approach If:
- You want the air-sealing performance of spray foam at reduced cost
- Your attic has complex geometry with irregular penetrations
- You’re balancing environmental concerns with performance requirements
The hybrid strategy — using 1–2 inches of closed-cell foam to seal the attic floor penetrations and joist bays, then topping with blown-in cellulose to achieve target R-value — is increasingly recommended by building scientists as the best value proposition for most existing homes in 2026.
Frequently Asked Questions
Can I add blown-in cellulose over my existing fiberglass batt insulation?
Yes, in most cases you can — and this is actually one of cellulose’s greatest practical advantages. Adding blown-in cellulose directly over existing fiberglass batts is a common, cost-effective retrofit strategy. The key conditions: existing insulation must be dry, undamaged, and free from contamination. If existing batts are compressed, moldy, or have been exposed to moisture, they should be removed first. When adding cellulose on top, installers should account for the combined R-value to hit your target (typically R-49 to R-60 for most U.S. climate zones). The cellulose also helps fill gaps and voids in existing batt coverage, actually improving the overall system performance beyond what simple R-value addition would suggest.
Is spray foam safe after it has cured, and how long does curing take?
Once fully cured, spray polyurethane foam is chemically inert and considered safe for occupied spaces — a conclusion supported by both the EPA and the International Insulation Contractors Association. The critical safety window is during and immediately after application, when isocyanate compounds are active. Full cure typically occurs within 24 hours at standard temperature and humidity, though most contractors and safety guidelines recommend keeping the home unoccupied for 24–72 hours post-installation as a precaution. After this period, off-gassing drops to negligible levels in properly applied installations. If you or family members have existing respiratory sensitivities, discuss this explicitly with your contractor and request third-party air quality testing before reoccupancy — a service increasingly offered by building performance contractors in 2026.
Which insulation option better resists pests and rodents in the attic?
This is a frequently overlooked but genuinely important consideration. Cellulose insulation, when properly treated with borate compounds, offers meaningful pest resistance — borates are toxic to insects and discourage rodent nesting activity. However, determined rodents can still burrow through cellulose if entry points are not sealed. Closed-cell spray foam, being rigid and non-nutritive, is far less appealing to rodents and provides an additional physical barrier when applied as a continuous layer. Neither material is a substitute for proper pest exclusion work — sealing all entry points at soffits, eaves, and penetrations should always precede any insulation project regardless of material choice. The combination of proper exclusion plus borate-treated cellulose or closed-cell foam provides the best long-term pest management outcome.
Your Attic Efficiency Roadmap: Next Steps
You’ve now got the knowledge that most homeowners spend months piecing together from contractor quotes and online forums. Let’s convert it into action.
Here’s your practical implementation roadmap:
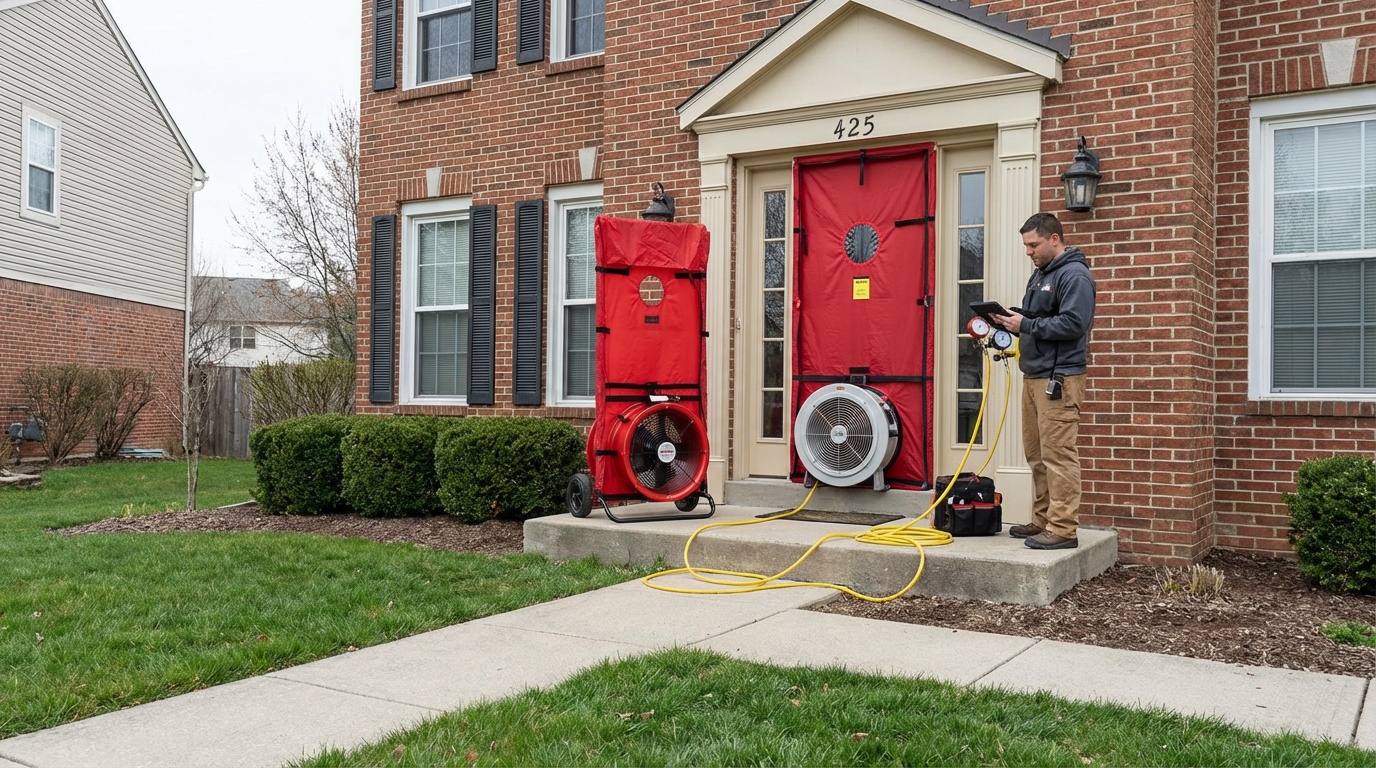
- Schedule a professional energy audit (Week 1–2): A certified Building Performance Institute auditor will use blower door testing and thermal imaging to identify your specific air leakage patterns before you spend a dollar on materials. This $200–$400 investment often reveals that targeted air sealing alone can deliver 15% energy savings — before you add any insulation.
- Determine your climate zone target R-value (Week 2): The DOE’s updated 2025 climate zone map identifies recommended attic R-values ranging from R-30 in Zone 1 (Hawaii, South Florida) to R-60 in Zone 7 (Northern Minnesota, Maine). Find your zone at energystar.gov and use it as your non-negotiable project target.
- Get three contractor quotes with material specifications (Week 3–4): Ensure each quote specifies the exact product, density, and depth. Don’t accept vague scope documents. Ask specifically about HFO-blown foam formulations and settled R-value calculations for cellulose.
- Apply for incentives before work begins (Week 4): Submit your IRA tax credit paperwork and any applicable state or utility rebate applications. Many utility programs in 2026 offer $0.10–$0.15 per square foot rebates for attic insulation upgrades — check your specific utility’s current incentive portal.
- Plan post-installation verification (Post-project): Request a blower door test after completion to verify air leakage reduction. This data not only confirms you got what you paid for — it becomes documentation for your tax credit and any future home sale disclosures.
The broader picture here is significant: residential buildings account for approximately 20% of total U.S. carbon emissions, and attic insulation upgrades are among the most cost-effective interventions available to individual homeowners. Your decision isn’t just about personal comfort and savings — it’s a small but meaningful contribution to a larger energy transition.
So here’s the question worth sitting with: If a 2–4 year payback period on cellulose or an 8-year payback on spray foam is the math — and you plan to own your home for the next decade or more — what’s the real cost of delaying this decision by another year? Run the numbers honestly, and the answer almost always points toward action sooner rather than later.
Your attic is waiting. The energy savings are real. The path forward is clearer than it’s ever been.
Article reviewed by Dr. Elena Vasquez, Architectural Permit Specialist & Building Code Consultant, on May 4, 2026